
Let me back up a minute here. Last week I was able to sign up for a new class on Craftsy. I signed up for the Quilt As You Go Patchwork Bags class by Tara Rebman. Let me tell you, this class is awesome. She is so good at explaining each step. She shows you so many versions of the bags as she is going along. I learned her quilt as you go method, what needles to use when sewing leather, how to make a zipper pocket inside the lining of a bag, and much much more. This class has changed the way I view modern quilting. I used to think I don't have the imagination for that. All those neat projects and quilts. Now I am ready to tackle it. I think Tara's QAYG method is my new favorite and I will be using it ALOT!
Okay, back to yesterday. I got home from work around 4 PM. I had just changed out of my scrubs and sat down on the sofa to rest. Of course the next thing I did was get on Instagram. I AM AN INSTAGRAM ADDICT! There I admitted it. What did I see at the top of my feed? Tinkerfrog (Tara Rebmman) had posted a tutorial on her blog using information from the class. This was perfect. A smaller project (I'm not quite ready to take on the Tinker Tote) that I could use my new skills on. Yay!!!

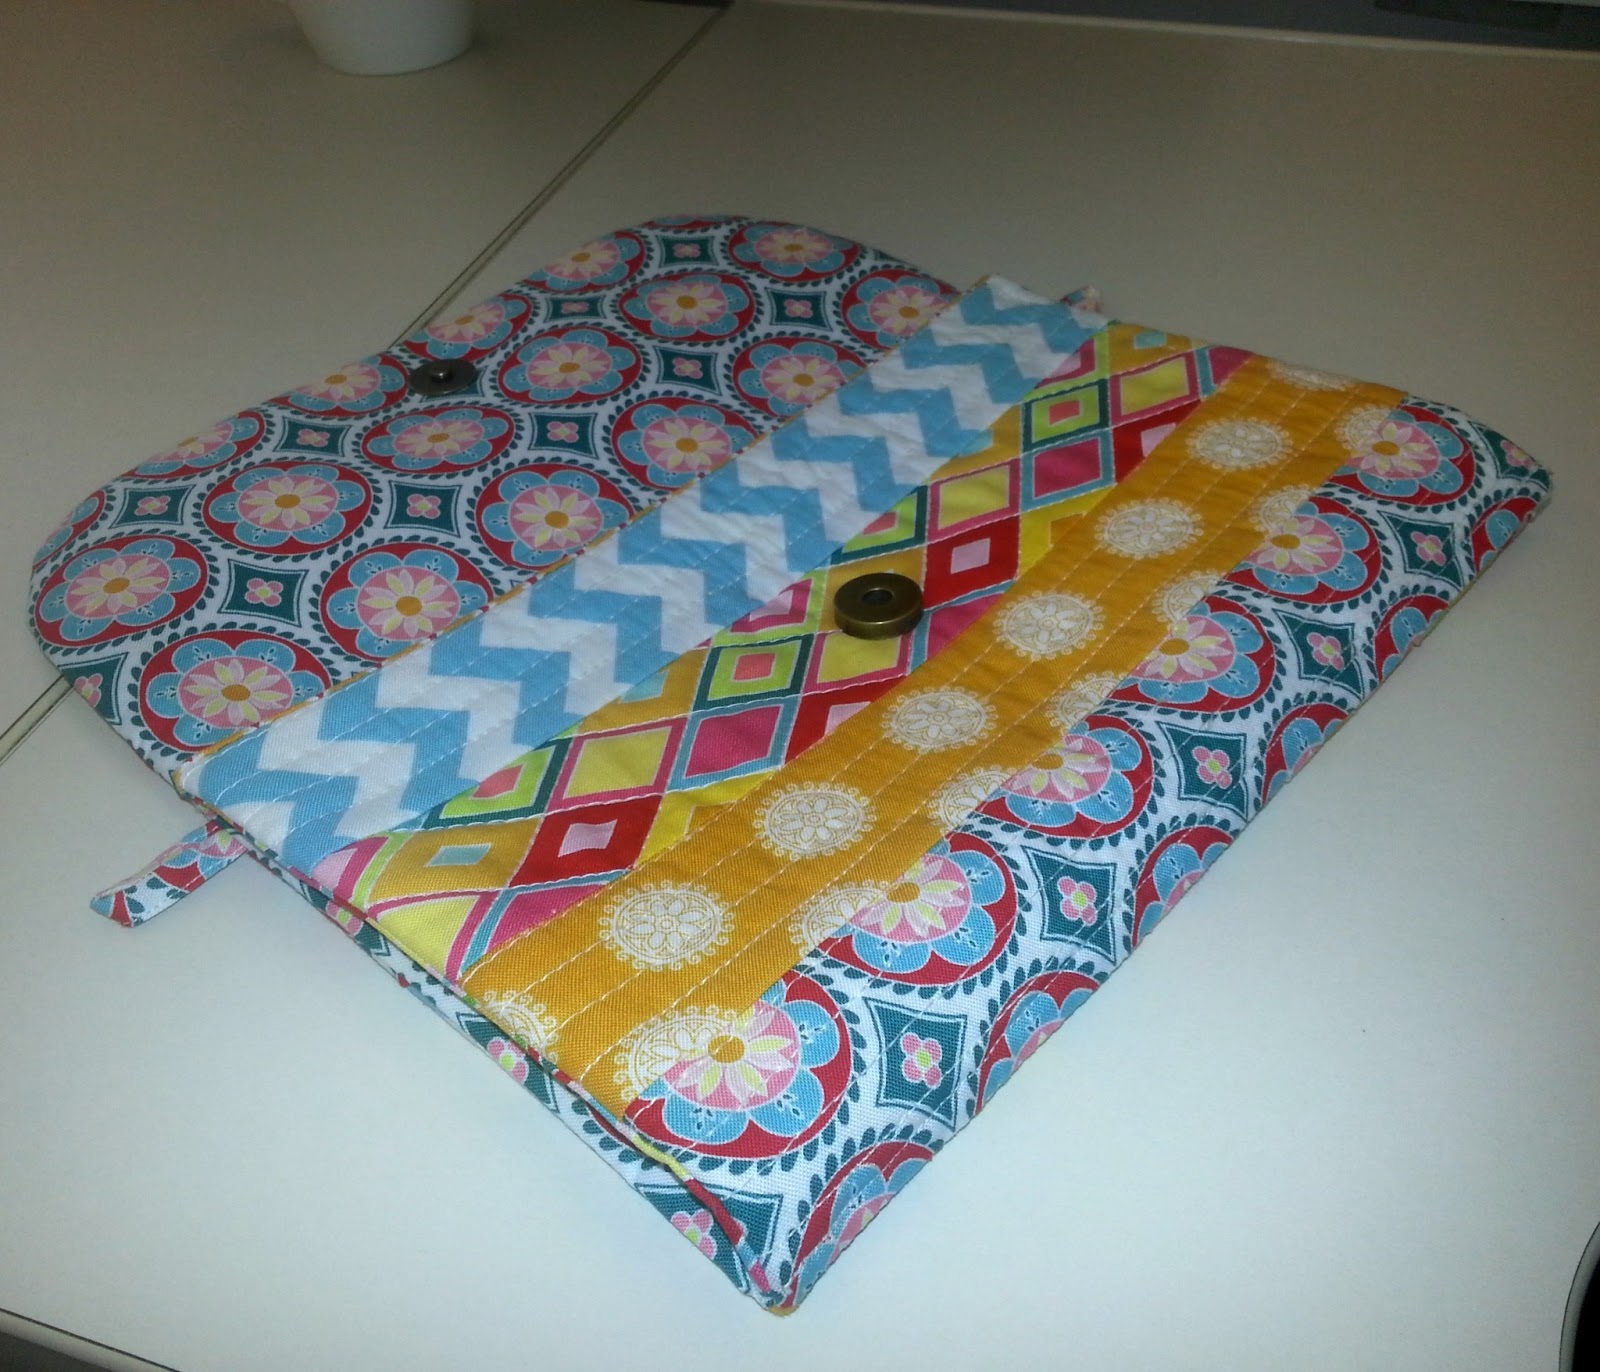
So off to the fabric stash I went. I knew right away what fabric I wanted to use. I had some fat quarters of Urban Mod by Art Gallery Fabrics and Girly Girl by Pat Bravo Designs for Art Gallery Fabrics. I also threw in some grey dot that I had left over from the Henry Glass Desire to Inspire Challenge. Luckily I also had some Deco Bond in my stash. The two things I didn't have were a zipper and magnetic snap. Oh well, I'll just do buttons I thought.
So I started off with the QAYG part of the outside of the bag. That was so fun to do. I don't have an automatic thread cutter on my machine so I used her pivot and turn method. This made it so fast and easy. I just used straight line quilting on this one as I have not yet really attempted FMQ. I have two feet for doing it, but I really have not taken time to practice.
I then moved on the to lining of the bag. This was nice and easy to make. I did want to try the inserted pocket, but I did not have a zipper and was not up for making a run to JoAnn's. So I went with the regular inside pocket. I used three fabrics from the Urban Mod collection for the lining and pocket.
Then it was time to make my first curved corners for the front flap. Tara's tutorial shows you an easy peasy way to do this. I will use this method forever. I'm sure it is a tried and true practice, but I had never seen it.
I didn't have any magnetic snaps either. My thought was I would just use buttons and buttonholes. Yeah NO. My machine will not move at all on the thick layers of fabric to make a buttonhole. Then I tried to make my own buttonholes. Yeah NO again. So today I am going to grab some elastic cording and just make a loop and add a button. If I were you, not me, make sure to do the magnetic snap step. Save yourself the frustration of trying to make buttonholes.
I did learn how to adjust my tension properly to keep my machine from looping up my thread when trying to sew thick layers together. So this is a plus for the two hours I fussed and fought last night with my machine.


All and all I am ecstatic about my new bag. I love it. Now I need to make a smaller version with a zipper pocket, about wallet size, for my daughter. She want one to strap thru her belt loops to keep her money in while waiting tables at her new second job. This was perfect timing for me that Tara started this class and the tutorial on her blog, which by the way is www.tinkerfrog.blogspot.com
Since writing this post the other night (and not getting my pictures loaded until tonight), I started on another bag. This time I added another loop on the other side of the bag so a shoulder strap can be attached. I used fabric from the Madhuri line by Riley Blake Designs. I had been eyeing these fabrics at Fabrics Etcetera for a couple of weeks. I am so glad I finally bit the bullet a bought a few fat quarters.


As you can see, I have not sewn the side together yet. This is because my machine decided it didn't want to play nice again. I'll try again on Monday. Working twelve hour shifts on the weekends does not make one want to fight with a sewing machine.
Thanks for stopping by and hope to see you again soon.

Linking up to: