Thursday, August 1, 2013

A Finally Friday Finish!

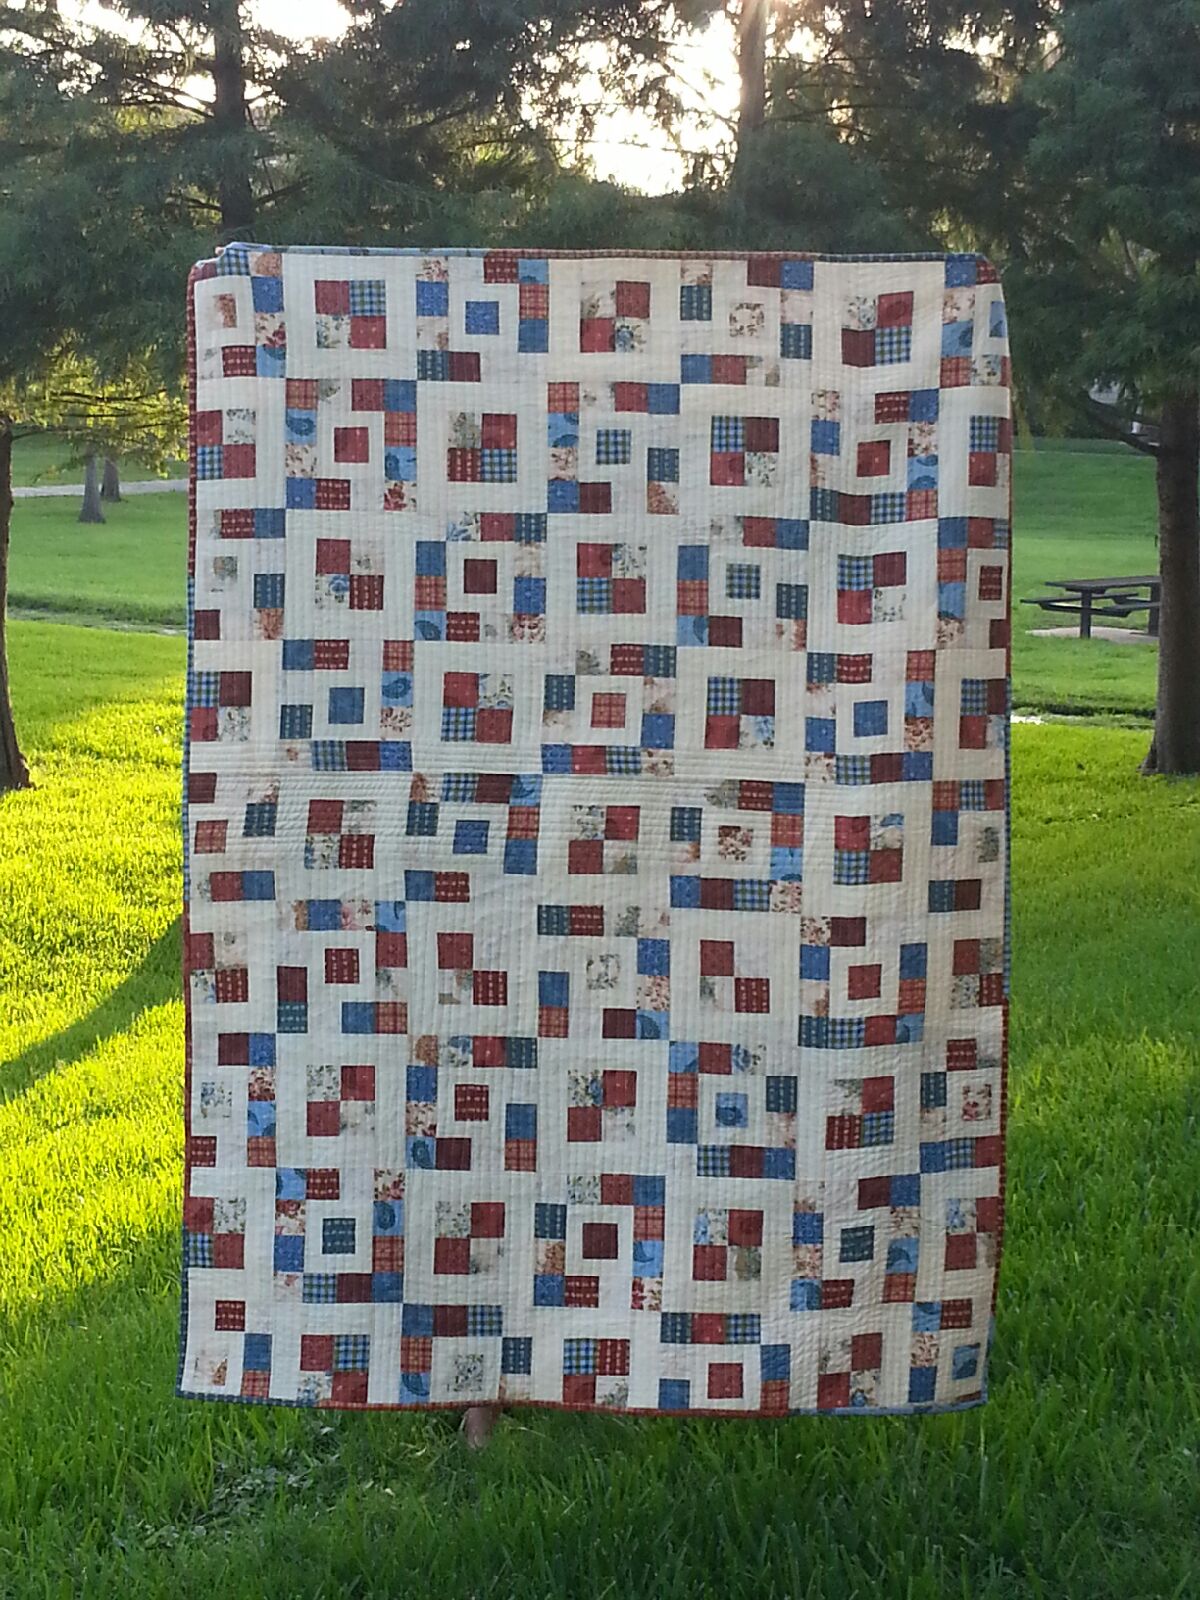
Finally. Yes I said finally.  I finished. What did I finish you ask? My daughters Christmas present. The one from last year. I am so happy to have this lingering project done.

I stated on this quilt before Thanksgiving last year.  It is my first pieced quilt.  It was a lot of work, more than I thought it would be at the time. But I am so glad I did it.  I LOVE it so much. I even decided to try my hand at hand binding a quilt.  Can I just say, I will not fight with my machine anymore to finish off my binding. Ever! I used to think you gals were crazy for thinking it was cathartic, but now I understand.  It is soothing to the spirit.  It is relaxing. And it let me spend a couple of hours sitting, talking with my son.


Front fabrics are Best Wishes by Henry Glass Fabrics and Eggshell Kona Cotton
Back is pieced using scraps given to me by my MIL.

I have also been trying my hand at crochet lately.  I recently made a baby hat and some booties.  I really enjoy it, but am finding that I have to try a pattern at least twice to get it right. I do hope to make several things to put away for future grandchildren.


I have to brag on my son.  My husband has 5 brothers, 4 of them living. Two of them live within 5 minutes of us.  My husband and his brothers are very close.  Best friends.  

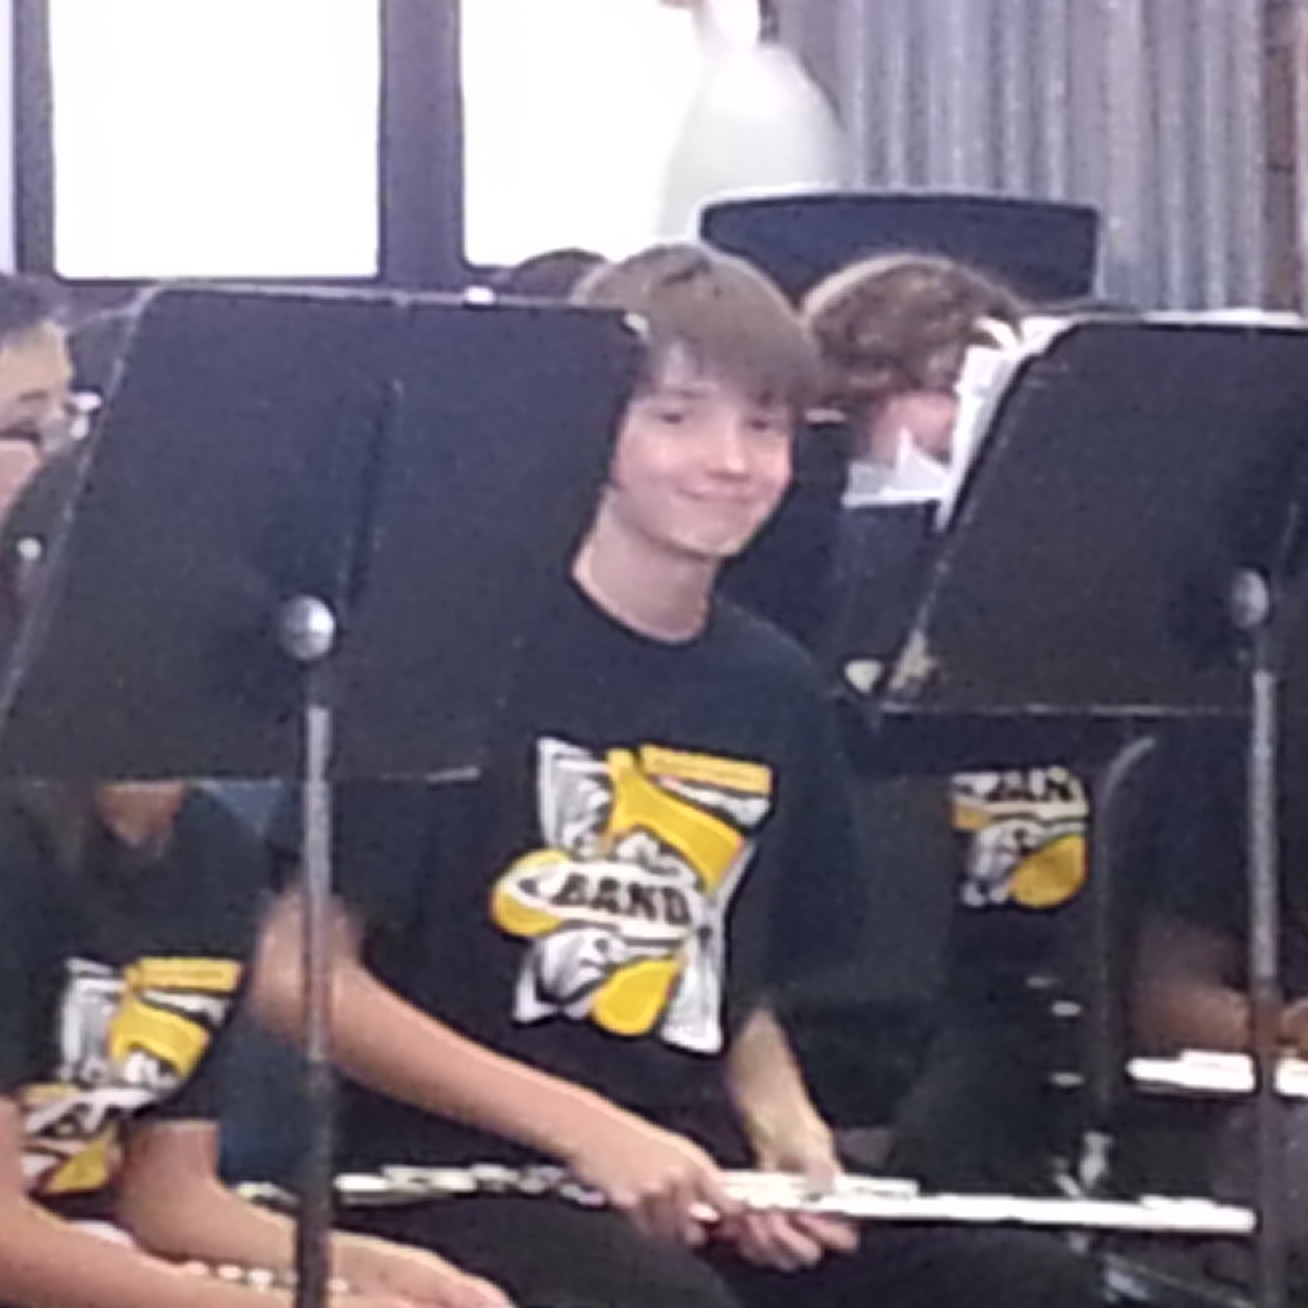
Well, on Monday they went to the firing  range for my brother-in-laws birthday.  This is Texas, lol. This was my sons first time ever shooting a gun, and I have to say that I am a very proud momma.  When my boys came home, my hubby informed me that my son is a dead on shot with a pistol.  No we don't keep guns in the house, so no worries.  But is it nice to know that he can defend himself if needed.  He also studies Brazilian Jujitsu and earned his first yellow stripe on his yellow belt last week. He is also in honors classes in school and plays the flute.  Pretty well rounded kid.  Love him!


And on one more bragging note, my dear daughter will be starting her junior year of college at University of Houston in just a couple of weeks.  I am so freaking proud of her. in the last two years she went from not taking college seriously and not seeming to have any direction for her future to being so focused, responsible and determined! She works two jobs and goes to school.  She is even getting her first apartment next month. I am just bursting at the seems this week with the pride my children bring to me.


I love these two kiddos more than they can ever know or understand!

Well that's it for this week. Time for bed and a busy work weekend.  Three more days, 36 hours of work until my much needed two days off in a row. Pray for me! LOL.


Linking up to: 


Lily's Quilts:
Lily's Quilts

Wednesday, July 17, 2013

My New Beach Bag

I did it. I finally did it. I made myself a new beach bag. A Tinker Tote to be exact. If you remember from my last post, I recently took Tara Rebman's Quilt As You Go Patchwork Bag class at Craftsy.com.  I decided one night last week to print and cut out the pattern.  The next day I was off work, so I got right to work on the outside panels.  I used the Coastal line by The Henley Studio for Andover/ Makower UK.  I just love the look of these modern colored traditional designs.

Beach Huts


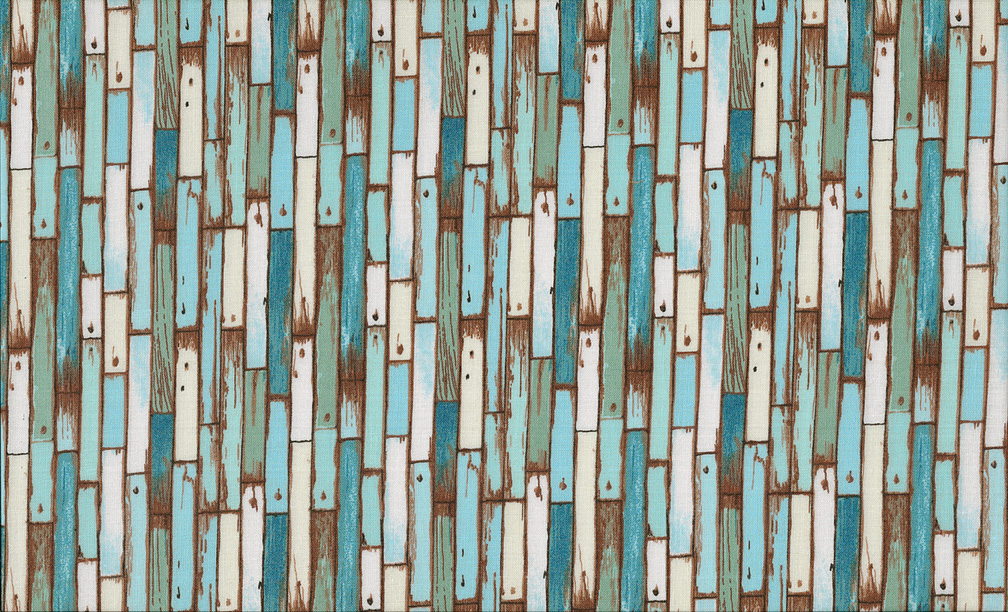
Painted Planks

Seagulls

Shells

Lighthouses

I used Kona Cotton in Royal Blue for the bottom of the bag.  I just love the pop it gives the bag. I did adjust the flap from curved to a point, mainly to make it easier for me to sew neatly. I thought about using red for the binding, but decided there was just not enough red in the patterns to make it work. I am glad I used the shells. 

This pattern challenged me in a few ways.  First, I have never made a bag this size. I also had not made an inserted zipper pocket, which was sooooo easy with Tara's extremely clear instructions. Lastly, I had never made and worked with bias binding.  I am still not on the "I love binding" train.  In fact I find itto be the worst part of quilting and bag making.  Maybe one day I will get it down and it won't be so frustrating. So just don't look to close at the inside edge of my binding, okay? 

Front

Back

Inserted Zippered Pocket

In other news, I finally finished up my June Simply Solids Bee Block and I finished my July block the same day.  At least this month I won't be worrying about getting my block finished and mailed back (two weeks into next month).
July

June (taken in my car because I wasn't thinking, lol)

Well, that's all I have for today.  I hope you like my bag as much as I do.  I also hope that you will take Tara's class if you haven't already. It is so good.  I will definitely be making more of these bags.


Linking up to:


Friday, June 14, 2013

Tinkering Around With Tara Rebman and Craftsy

This week has been filled with lots of work.  I don't even have one day off. So yesterday when I got home from work, I was so ready for some sew time. 

Let me back up a minute here.  Last week I was able to sign up for a new class on Craftsy. I signed up for the Quilt As You Go Patchwork Bags class by Tara Rebman. Let me tell you, this class is awesome. She is so good at explaining each step. She shows you so many versions of the bags as she is going along. I learned her quilt as you go method, what needles to use when sewing leather, how to make a zipper pocket inside the lining of a bag, and much much more.  This class has changed the way I view modern quilting.  I used to think I don't have the imagination for that.  All those neat projects and quilts.  Now I am ready to tackle it.  I think Tara's QAYG method is my new favorite and I will be using it ALOT!

Okay, back to yesterday.  I got home from work around 4 PM.  I had just changed out of my scrubs and sat down on the sofa to rest.  Of course the next thing I did was get on Instagram.  I AM AN INSTAGRAM ADDICT! There I admitted it. What did I see at the top of my feed? Tinkerfrog (Tara Rebmman) had posted a tutorial on her blog using information from the class.  This was perfect.  A smaller project (I'm not quite ready to take on the Tinker Tote) that I could use my new skills on.  Yay!!!


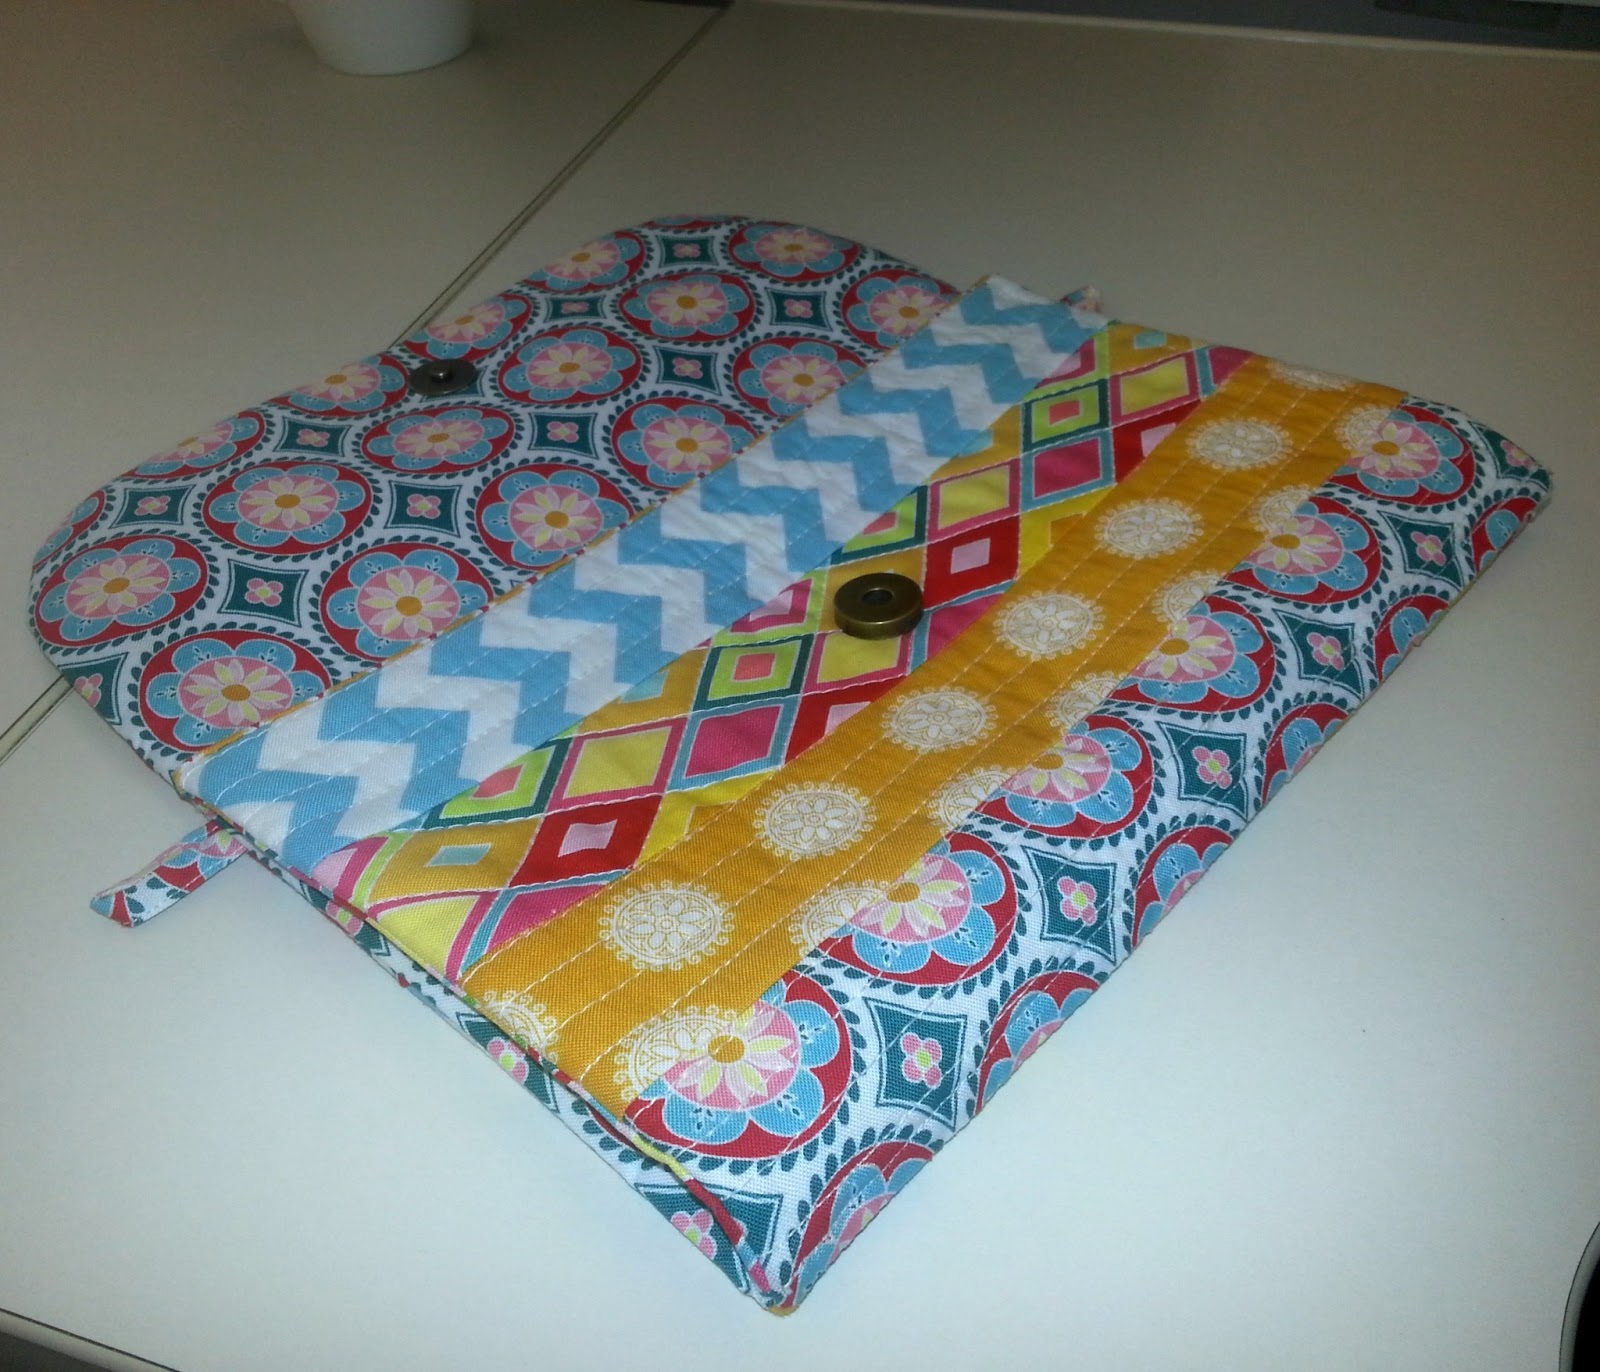
So off to the fabric stash I went.  I knew right away what fabric I wanted to use.  I had some fat quarters of Urban Mod by Art Gallery Fabrics and Girly Girl by Pat Bravo Designs for Art Gallery Fabrics.  I also threw in some grey dot that I had left over from the Henry Glass Desire to Inspire Challenge.  Luckily I also had some Deco Bond in my stash.  The two things I didn't have were a zipper and magnetic snap.  Oh well, I'll just do buttons I thought.

So I started off with the QAYG part of the outside of the bag.  That was so fun to do.  I don't have an automatic thread cutter on my machine so I used her pivot and turn method.  This made it so fast and easy.  I just used straight line quilting on this one as I have not yet really attempted FMQ. I have two feet for doing it, but I really have not taken time to practice.

I then moved on the to lining of the bag.  This was nice and easy to make.  I did want to try the inserted pocket, but I did not have a zipper and was not up for making a run to JoAnn's.  So I went with the regular inside pocket.  I used three fabrics from the Urban Mod collection for the lining and pocket.

Then it was time to make my first curved corners for the front flap.  Tara's tutorial shows you an easy peasy way to do this. I will use this method forever.  I'm sure it is a tried and true practice, but I had never seen it.

I didn't have any magnetic snaps either.  My thought was I would just use buttons and buttonholes. Yeah NO. My machine will not move at all on the thick layers of fabric to make a buttonhole.  Then I tried to make my own buttonholes.  Yeah NO again.  So today I am going to grab some elastic cording and just make a loop and add a button.  If I were you, not me, make sure to do the magnetic snap step.  Save yourself the frustration of trying to make buttonholes.

I did learn how to adjust my tension properly to keep my machine from looping up my thread when trying to sew thick layers together.  So this is a plus for the two hours I fussed and fought last night with my machine. 


All and all I am ecstatic about my new bag.  I love it.  Now I need to make a smaller version with a zipper pocket, about wallet size, for my daughter.  She want one to strap thru her belt loops to keep her money in while waiting tables at her new second job.  This was perfect timing for me that Tara started this class and the tutorial on her blog, which by the way is www.tinkerfrog.blogspot.com

Since writing this post the other night (and not getting my pictures loaded until tonight), I started on another bag.  This time I added another loop on the other side of the bag so a shoulder strap can be attached.  I used fabric from the Madhuri line by Riley Blake Designs.  I had been eyeing these fabrics at Fabrics Etcetera for a couple of weeks. I am so glad I finally bit the bullet a bought a few fat quarters.


As you can see, I have not sewn the side together yet.  This is because my machine decided it didn't want to play nice again. I'll try again on Monday.  Working twelve hour shifts on the weekends does not make one want to fight with a sewing machine. 

Thanks for stopping by and hope to see you again soon.


Linking up to:


Friday, May 31, 2013

Reuse, Renew, Recycle, and My New Tables!

Today I don't have any quilting to share with you, but I do have a Friday Finish!

About two weeks ago I was coming home from work driving thru my apartments.  What did I see? Two twenty something bachelors throwing out two perfectly good end tables. They did not have the glass tops for the tables, but I didn't care.  I said, "Throw those in my car please!"  And they did after giving me a you're crazy lady look.

Here is the before:


So with a little paint and fabric covered 1/4 inch plywood we now have two of these:


I used fabric from the Carnaby Street line by Pat Bravo Designs.  I just love how fresh they look.  I am going to seal the top of the tables with the super gloss mod podge that is suppose to give it a glass like finish and in 4 weeks after curing I will be able to wipe off the tops.  I am so in love with these tables.

Other things in our recent history was a trip to Froberg's Fruit and Vegetable Farm in Alvin, TX to pick strawberries. Don't they look like jewels?


My main job had 1920's day recently, but since I don't own anything that even resembles that era I work 1980's attire and went back to my 20's.  I had to participate somehow, LOL.


Last but not least my dear Michael had his Spring Concert.  I am so proud how he has grown in all aspects of life and learning this year.


That's all for now.  Life hasn't given me much time for my creativity lately. Hopefully I will have more time soon.


Linking up to:


Thursday, May 9, 2013

Been MIA, so so sorry!

The grandkids went home a couple of weeks ago, and I kinda went MIA.  I have been enjoying some much needed downtime, and getting back to my sewing.  I have a couple of projects to share with you today.

First up is a pincushion I made using an upcoming paper piecing pattern by From Blank Pages.  I was so happy to be picked as a tester.  Now let me say, this pattern was perfect.  No changes needed and clear piecing instructions on the pattern.  It will be a great pattern to pick up when she releases it.  I'm sure it will be in her Craftsy store soon.


I also finally got around to making the quilt top for my dear FIL.  I have been hording these fabric since Houston Quilt Festival last year.  I had originally bought a pattern to use, but was really wanting to do something that would really show off the prints in these fabrics.  My dear FIL is an old God Fearing Cowboy.  A man's MAN.  A hard worker, and a very fair and just man.  Honest, loving, and caring.  I wouldn't trade him for a million dollars. That's how much I love him. 

I started with a pattern by In Color Order.  I loved the simplicity of this pattern but felt something was missing.

I thought it needed some length added to it due to my dear FIL being a tall man and I wanted to add the Pony Express material I had purchased for this quilt.  


I am still considering adding a border to the sides to give it a little more width, but I think he will love it.  

I also made another block for the Simply Solids Modern Bee.  I debated about how to make this block until the last minute.  We were sent the material and the pattern, but I wasn't really sure if the stars were suspose to be all one color or we could mix it up.  So of course I went with my gut feeling of how I would want the block to look.


I love how this turned out.  Thinking I am going to use this in another quilt I am working on.

That leads me to this shabby chic block I just threw together one afternoon.  This is growing quickly as I have started two more of these blocks and now am thinking of doing two star blocks using my shabby chic scraps.  The plan is to put this in a modern setting using lots of solid white Kona cotton.


And last but not least, I spent 14 hours yesterday making myself a summer top using some Carnaby Street Fabrics by Pat Bravo Design for Art Gallery Fabrics. I did not use a pattern, I did let lots of bad words come flying out of my mouth, but it was worth it.  I had a picture in my head of what I wanted and I can't wait to wear this to work tomorrow.  I am so proud of myself for sticking in there and not giving up on this blouse.  And I have to say my dear hubby was so sweet to help me pin and repin the shoulder straps.  Please let me know what you think~


Well I think that covers all my recent projects.  I hope you like them.  Please leave me a comment, I love hearing from you all.

Love


linking up to:


Thursday, April 11, 2013

April Showers Mug Rug Blog Hop!

Today is day 5 of the April Showers Mug Rug Blog Hop and I am so glad that you have stopped by! Thanks to Mdm. Samm (Sew We Quilt) and Erin Davis (Sew at Home Mummy) for thinking up and organizing this wonderful blog hop and inviting me to join.  This is my first blog hop ever so I hope I have done them and you proud.  And without further ado here is my Mug Rug.


 I decided this would be a great opportunity to try out my decorative stitches on my machine.  I had these great fabrics in my stash thanks to winning a door prize at Fabrics Etc. a couple of weeks ago during the Greater Houston Shop Hop.  This is my first time making a mug rug and I found that I still need to figure out how to finish off my binding strips.  I am really having trouble with this step.  I have watched videos over and over, but just don't get it on the first try, ever. LOL

P.S.  After making the above mug rug my granddaughter told me she wanted to keep it.  Then of course my grandson wanted a "boy" one.  So, being the Nana that I am, I whipped one right up for him.  This time it only took me two tries to get the binding right. LOl


Anyways, I hope you will stop by all the other blogs on the hop today.  They are:


Linking up to: