Tuesday, October 15, 2013

Finish It Up 2013

I thought I would share today some of my recent finishes.  I have been taking some time to work on lots of different projects.  I've been in a kind of "do what moves you" kind of mood with my sewing lately.  I have really enjoyed making some free projects from around the web. Please join me at the end of this post in my first ever link up party!

First up is a quilt top using Tim Holtz's Eclectic Elements fabric by Coats & Clark.  The pattern is "Time Flies" quilt.  You can find the post and instructions here. It was super easy and super quick to complete. 


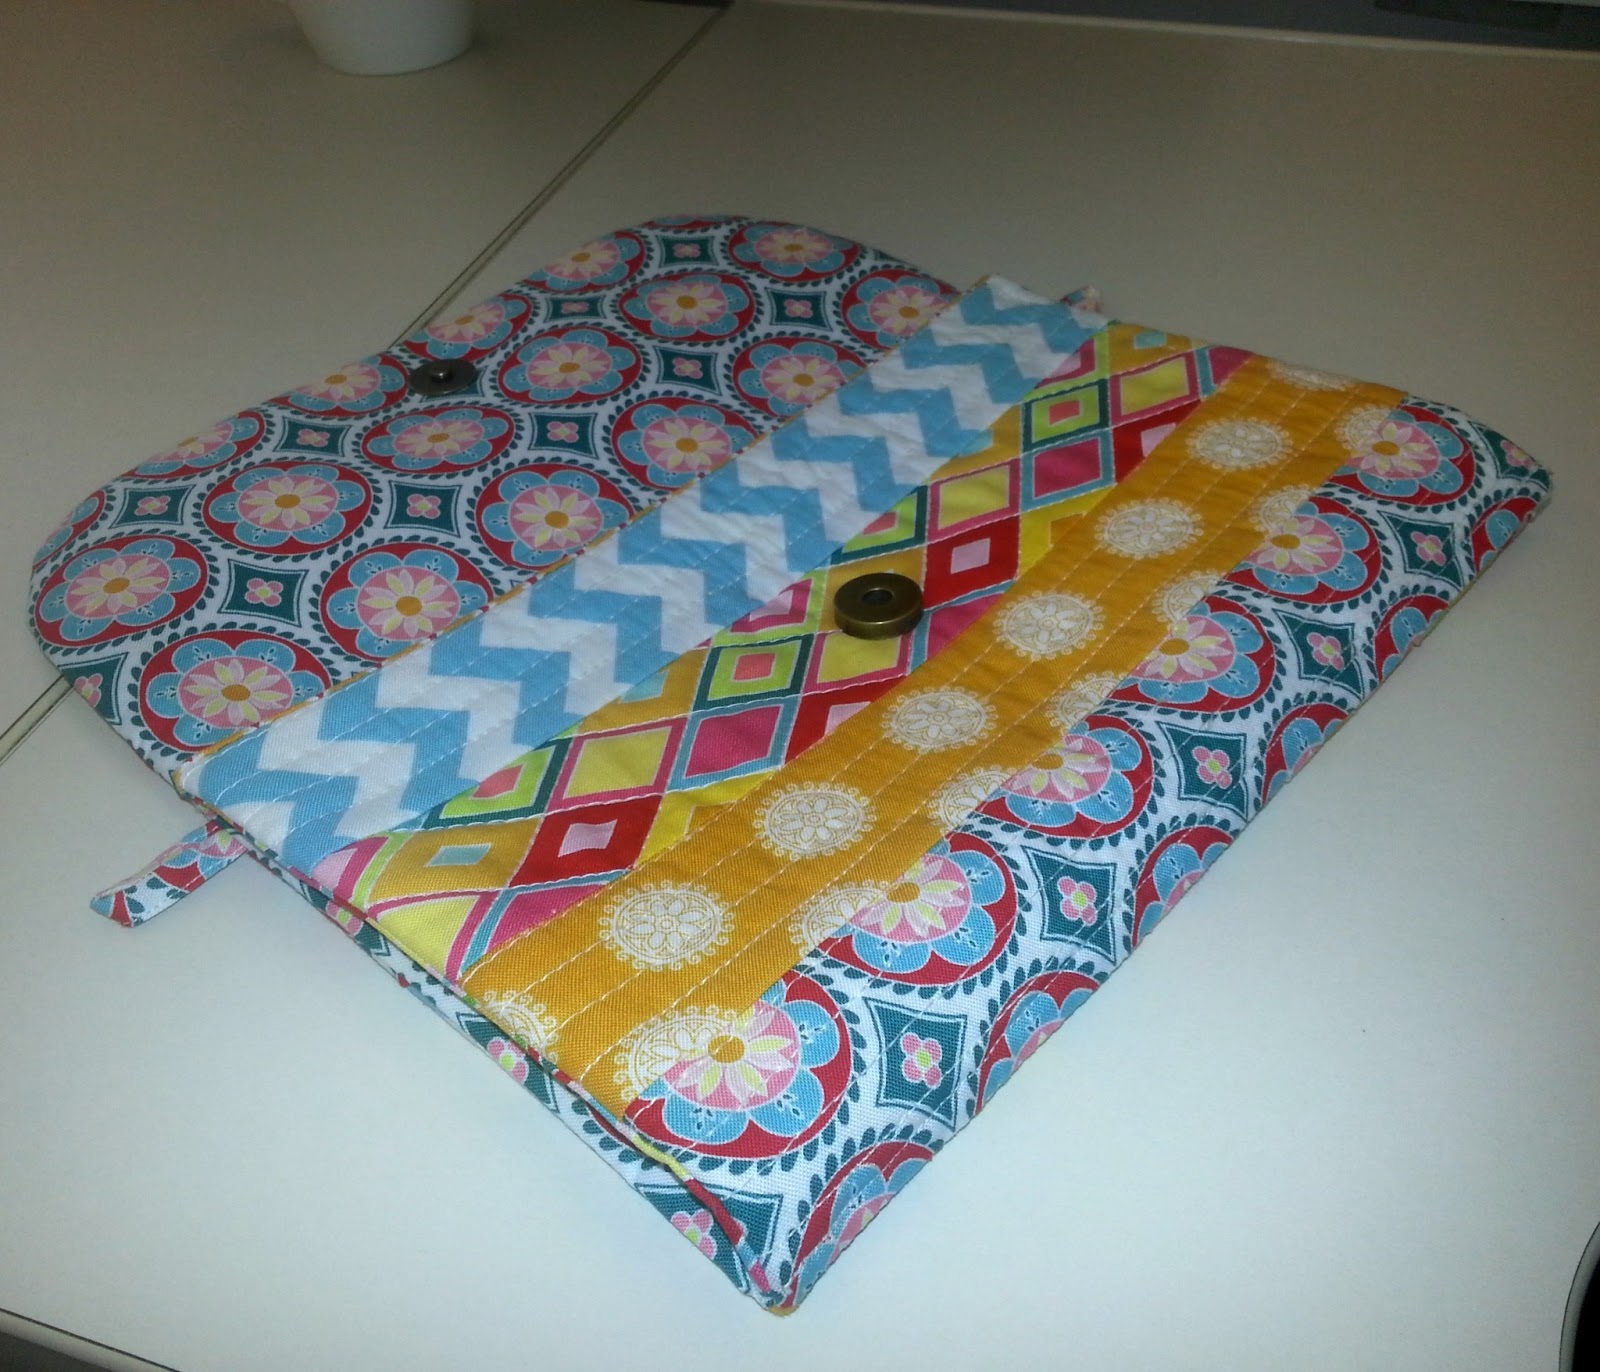
I also made a pouch and a purse from this fabric.  The pouch is a "Susie Zippered Pouch" pattern by Pattydoo.  This video tutorial is available on You Tube.  The purse is a larger version of the pouch with a shoulder strap attached. 


I made another pouch with my Ruby scraps.


Then I decided to take a block I made a while back and sew up another pouch.  I am a little addicted to pouches lately.


I then made a "Half Tote" using fat quarters of Honeysweet.  I just love the colors in this line.  I found the pattern for this bag here.


I also made some Dresden plates using Carnaby Street by Pat Bravo.


Last but not least of my news is that a friend from work gave me a vintage Singer 185k sewing machine.  It runs like a dream.  I hope to put it to good use. Isn't she a beauty? I love her so much!


I am also gearing up for Fall Quilt Festival here in Houston.  I am so excited to be off work that whole weekend.  Let me know if you will be there.  I would love to meet you.  I really wish I was going to market too, but I don't have a business at this time.  Maybe next year.


Linking up to:


 CrazyMomQuilts.Blogspot.com 

prettybobbins.com

richardquilts.blogspot.com

Tuesday, September 10, 2013

Bad, Bad Blogger!

Oh how I have missed you. All of you.  Life has been very busy with work lately and I have been a very bad, bad blogger. I apologize for neglecting you. But today I am back!

I haven't finished much lately, but I have started a new quilt top.  I have to say first off that I am a HUGH fan of Pat Bravo's fabrics, especially Carnaby Street.  I have made my self a blouse and renewed a couple of end tables with it.  I am now working on a quilt to go with the end tables to redecorate my living room.

The pattern for the center star block is named Ice Star and wad designed by Sarah Bailey over at SewWhatSherlock. It is a free paper piecing download and it is beautiful. The finished block measures 24 inches square and is striking! So here is my progression so far:


Next, I am going to add 3/4 Dresden plates to the corners of the white border.  I don't know what will be added after that.  I am letting this top grow as it comes to me. 

I have finished some crochet projects lately. I made myself some boot cuffs for this winter.  I love them and just hope it get cold enough this winter here in Texas to actually wear them.


I also made a mermaid tail as a picture prop for a future granddaughter.  No, my daughter is not expecting at this time, but she did ask me to make it for that "one day".  So I got right on it of course.  You can't tell that I almost can't wait to be a grandmother, again, can you?


Well, that's about all I have for today.  Thanks for stopping by my little part of the web.


Thursday, August 1, 2013

A Finally Friday Finish!

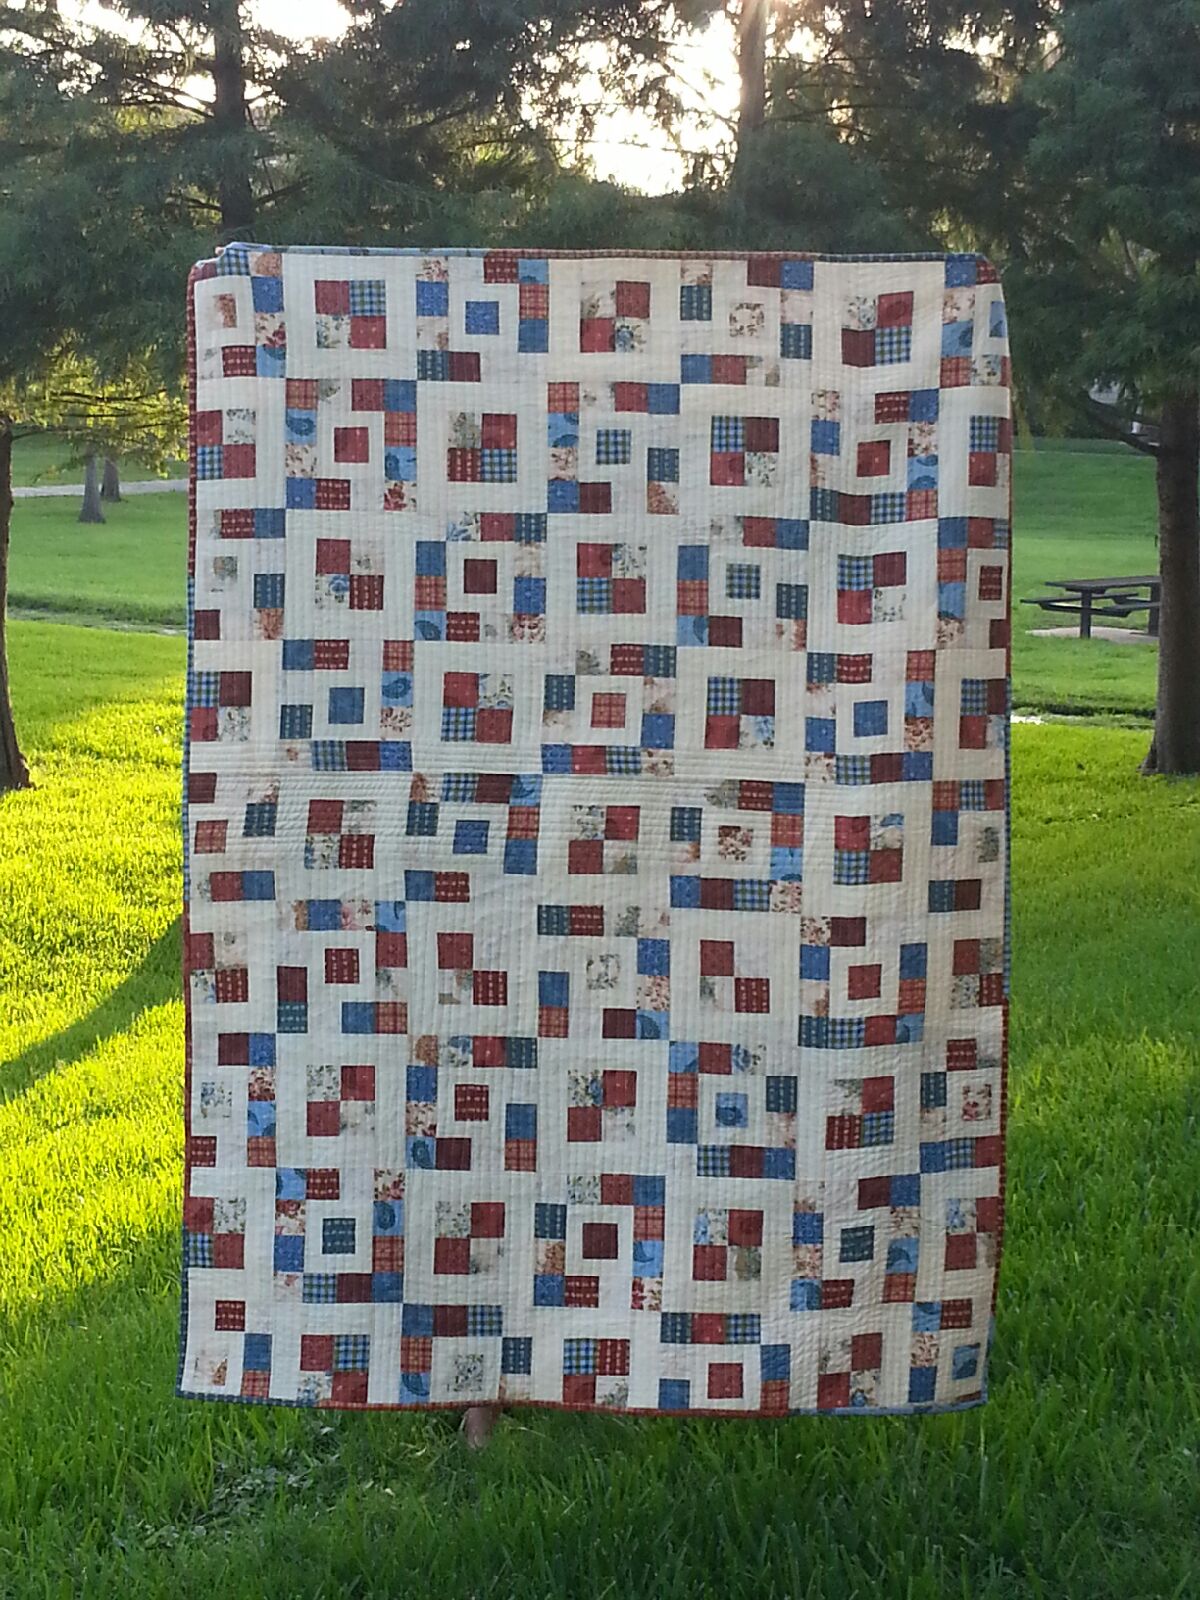
Finally. Yes I said finally.  I finished. What did I finish you ask? My daughters Christmas present. The one from last year. I am so happy to have this lingering project done.

I stated on this quilt before Thanksgiving last year.  It is my first pieced quilt.  It was a lot of work, more than I thought it would be at the time. But I am so glad I did it.  I LOVE it so much. I even decided to try my hand at hand binding a quilt.  Can I just say, I will not fight with my machine anymore to finish off my binding. Ever! I used to think you gals were crazy for thinking it was cathartic, but now I understand.  It is soothing to the spirit.  It is relaxing. And it let me spend a couple of hours sitting, talking with my son.


Front fabrics are Best Wishes by Henry Glass Fabrics and Eggshell Kona Cotton
Back is pieced using scraps given to me by my MIL.

I have also been trying my hand at crochet lately.  I recently made a baby hat and some booties.  I really enjoy it, but am finding that I have to try a pattern at least twice to get it right. I do hope to make several things to put away for future grandchildren.


I have to brag on my son.  My husband has 5 brothers, 4 of them living. Two of them live within 5 minutes of us.  My husband and his brothers are very close.  Best friends.  

Well, on Monday they went to the firing  range for my brother-in-laws birthday.  This is Texas, lol. This was my sons first time ever shooting a gun, and I have to say that I am a very proud momma.  When my boys came home, my hubby informed me that my son is a dead on shot with a pistol.  No we don't keep guns in the house, so no worries.  But is it nice to know that he can defend himself if needed.  He also studies Brazilian Jujitsu and earned his first yellow stripe on his yellow belt last week. He is also in honors classes in school and plays the flute.  Pretty well rounded kid.  Love him!


And on one more bragging note, my dear daughter will be starting her junior year of college at University of Houston in just a couple of weeks.  I am so freaking proud of her. in the last two years she went from not taking college seriously and not seeming to have any direction for her future to being so focused, responsible and determined! She works two jobs and goes to school.  She is even getting her first apartment next month. I am just bursting at the seems this week with the pride my children bring to me.


I love these two kiddos more than they can ever know or understand!

Well that's it for this week. Time for bed and a busy work weekend.  Three more days, 36 hours of work until my much needed two days off in a row. Pray for me! LOL.


Linking up to: 


Lily's Quilts:
Lily's Quilts

Wednesday, July 17, 2013

My New Beach Bag

I did it. I finally did it. I made myself a new beach bag. A Tinker Tote to be exact. If you remember from my last post, I recently took Tara Rebman's Quilt As You Go Patchwork Bag class at Craftsy.com.  I decided one night last week to print and cut out the pattern.  The next day I was off work, so I got right to work on the outside panels.  I used the Coastal line by The Henley Studio for Andover/ Makower UK.  I just love the look of these modern colored traditional designs.

Beach Huts


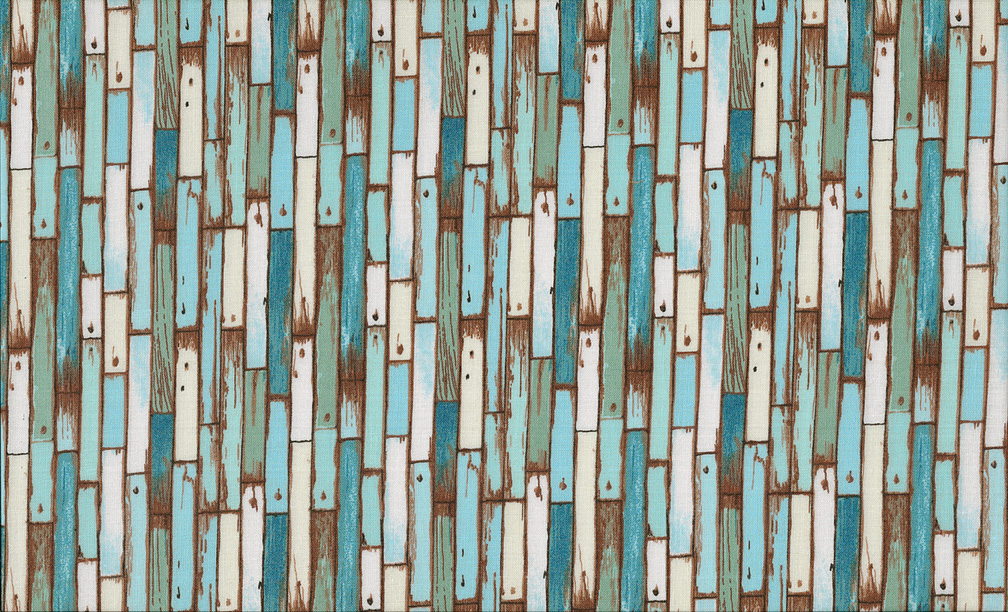
Painted Planks

Seagulls

Shells

Lighthouses

I used Kona Cotton in Royal Blue for the bottom of the bag.  I just love the pop it gives the bag. I did adjust the flap from curved to a point, mainly to make it easier for me to sew neatly. I thought about using red for the binding, but decided there was just not enough red in the patterns to make it work. I am glad I used the shells. 

This pattern challenged me in a few ways.  First, I have never made a bag this size. I also had not made an inserted zipper pocket, which was sooooo easy with Tara's extremely clear instructions. Lastly, I had never made and worked with bias binding.  I am still not on the "I love binding" train.  In fact I find itto be the worst part of quilting and bag making.  Maybe one day I will get it down and it won't be so frustrating. So just don't look to close at the inside edge of my binding, okay? 

Front

Back

Inserted Zippered Pocket

In other news, I finally finished up my June Simply Solids Bee Block and I finished my July block the same day.  At least this month I won't be worrying about getting my block finished and mailed back (two weeks into next month).
July

June (taken in my car because I wasn't thinking, lol)

Well, that's all I have for today.  I hope you like my bag as much as I do.  I also hope that you will take Tara's class if you haven't already. It is so good.  I will definitely be making more of these bags.


Linking up to:


Friday, June 14, 2013

Tinkering Around With Tara Rebman and Craftsy

This week has been filled with lots of work.  I don't even have one day off. So yesterday when I got home from work, I was so ready for some sew time. 

Let me back up a minute here.  Last week I was able to sign up for a new class on Craftsy. I signed up for the Quilt As You Go Patchwork Bags class by Tara Rebman. Let me tell you, this class is awesome. She is so good at explaining each step. She shows you so many versions of the bags as she is going along. I learned her quilt as you go method, what needles to use when sewing leather, how to make a zipper pocket inside the lining of a bag, and much much more.  This class has changed the way I view modern quilting.  I used to think I don't have the imagination for that.  All those neat projects and quilts.  Now I am ready to tackle it.  I think Tara's QAYG method is my new favorite and I will be using it ALOT!

Okay, back to yesterday.  I got home from work around 4 PM.  I had just changed out of my scrubs and sat down on the sofa to rest.  Of course the next thing I did was get on Instagram.  I AM AN INSTAGRAM ADDICT! There I admitted it. What did I see at the top of my feed? Tinkerfrog (Tara Rebmman) had posted a tutorial on her blog using information from the class.  This was perfect.  A smaller project (I'm not quite ready to take on the Tinker Tote) that I could use my new skills on.  Yay!!!


So off to the fabric stash I went.  I knew right away what fabric I wanted to use.  I had some fat quarters of Urban Mod by Art Gallery Fabrics and Girly Girl by Pat Bravo Designs for Art Gallery Fabrics.  I also threw in some grey dot that I had left over from the Henry Glass Desire to Inspire Challenge.  Luckily I also had some Deco Bond in my stash.  The two things I didn't have were a zipper and magnetic snap.  Oh well, I'll just do buttons I thought.

So I started off with the QAYG part of the outside of the bag.  That was so fun to do.  I don't have an automatic thread cutter on my machine so I used her pivot and turn method.  This made it so fast and easy.  I just used straight line quilting on this one as I have not yet really attempted FMQ. I have two feet for doing it, but I really have not taken time to practice.

I then moved on the to lining of the bag.  This was nice and easy to make.  I did want to try the inserted pocket, but I did not have a zipper and was not up for making a run to JoAnn's.  So I went with the regular inside pocket.  I used three fabrics from the Urban Mod collection for the lining and pocket.

Then it was time to make my first curved corners for the front flap.  Tara's tutorial shows you an easy peasy way to do this. I will use this method forever.  I'm sure it is a tried and true practice, but I had never seen it.

I didn't have any magnetic snaps either.  My thought was I would just use buttons and buttonholes. Yeah NO. My machine will not move at all on the thick layers of fabric to make a buttonhole.  Then I tried to make my own buttonholes.  Yeah NO again.  So today I am going to grab some elastic cording and just make a loop and add a button.  If I were you, not me, make sure to do the magnetic snap step.  Save yourself the frustration of trying to make buttonholes.

I did learn how to adjust my tension properly to keep my machine from looping up my thread when trying to sew thick layers together.  So this is a plus for the two hours I fussed and fought last night with my machine. 


All and all I am ecstatic about my new bag.  I love it.  Now I need to make a smaller version with a zipper pocket, about wallet size, for my daughter.  She want one to strap thru her belt loops to keep her money in while waiting tables at her new second job.  This was perfect timing for me that Tara started this class and the tutorial on her blog, which by the way is www.tinkerfrog.blogspot.com

Since writing this post the other night (and not getting my pictures loaded until tonight), I started on another bag.  This time I added another loop on the other side of the bag so a shoulder strap can be attached.  I used fabric from the Madhuri line by Riley Blake Designs.  I had been eyeing these fabrics at Fabrics Etcetera for a couple of weeks. I am so glad I finally bit the bullet a bought a few fat quarters.


As you can see, I have not sewn the side together yet.  This is because my machine decided it didn't want to play nice again. I'll try again on Monday.  Working twelve hour shifts on the weekends does not make one want to fight with a sewing machine. 

Thanks for stopping by and hope to see you again soon.


Linking up to: